.png?width=1800&height=528&name=Elite%20Floor%20Coatings%20Header%20Logo%20With%20White%20Background%20(1).png "Logo for Elite Floor Coatings in Chambersburg, Pennsylvania.")
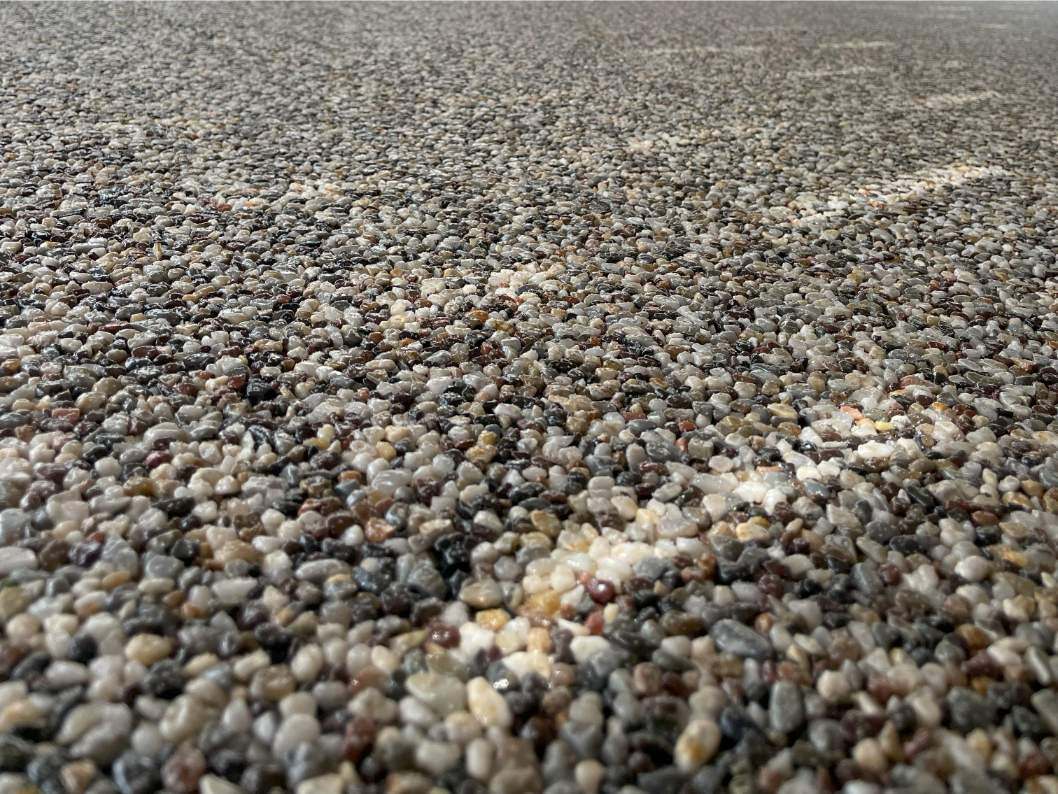

Our customers frequently ask about reglazing river rock epoxy themselves. This process is not difficult, but any mistakes are permanent and cannot be undone. To make reglazing simpler and boost your confidence, we've written this step-by-step guide.
Read this article thoroughly before reglazing. If you follow the steps outlined below, you should be successful in reglazing your river rock epoxy.
Step 1: Thoroughly Clean & Dry The River Rock.
Before any epoxy is mixed or applied, the river rock coating must be cleaned and dried. Reglazing your river rock is essentially replacing the top layer of epoxy, which burned away due to UV exposure. Before you add that top layer, you want a clean slate.
Supplies You'll Need To Clean Your River Rock
There are several supplies you'll need to clean your river rock epoxy coating properly.
- Clorox
- Simple Green
- 5 gallon bucket
- Watering can
- Water
- Power washer
- Garden hose
Now, let's walk through how you'll use these supplies to get a thorough clean.
First, Pre-Soap The River Rock.
The first step in cleaning is to apply soap all over the river rock. We recommend using Simple Green and Clorox. Mix 2 pints of each product and add to a 5 gallon bucket of water. Then, you can either siphon the soap mixture through the power washer or apply it with a garden watering can.
Once your soap has been applied, you'll scrub the river rock.
Then, Scrub & Rinse The River Rock.
Now that you've added the soap and water, you'll get out the power washer and scrub that river rock epoxy. After all the coating has been power washed, you'll want to rinse it several times. You can use your power washer or a garden hose to rinse.
As you know, river rock is a pervious material (allowing water to pass through it), so adding a lot of water during cleaning can result in puddles. You don't want puddles. If there is a puddle, make sure it is clean. A dirty puddle will leave a dark spot after it has dried.
Don't Proceed To Step 2 Until The River Rock Is Dry.
Wait until it is unquestionably dry before proceeding. If there is a doubt in your mind that the water has dried up, just wait.
Not only does the coating need to be dry before proceeding, but the weather also needs to be appropriate for your reglazing needs. Once the coating is dry and the forecast promises no rain for 24 hours, you can move forward with reglazing.
We recommend reglazing when the outdoor temperature is between 70 and 85 degrees Fahrenheit. With temperatures outside of this range, the glue can be difficult to spread and can harden too quickly.
Step 2: Apply The Glue.
Now that your river rock has been thoroughly cleaned and dried, you can move on to reglazing. Be sure to read this section carefully before proceeding. Reglazing isn't a difficult task, but mistakes are permanent.
We've found that those with professional painting experience struggle the most with reglazing because they are used to the rules of paint. Epoxy is a glue, not a paint. It must be treated differently.
Supplies You'll Need To Apply The Glue
There are lots of supplies you'll need to apply the glue. Some supplies are provided by Elite Floor Coatings. Other supplies you'll need to purchase or provide yourself.
- Resin (epoxy ingredient provided by Elite)
- Cure (epoxy ingredient provided by Elite)
- Xylene (solvent, available at Lowe's)
- Three to six 9 inch by ⅜ inch roller naps
- One paint roller pole
- One throwaway paintbrush
- One 5 gallon bucket
- One 5 gallon bucket screen
- Blasting sand (an anti-skid, optional)
Let's go step-by-step through the use of all these materials.
First, Trim The Perimeter.
To start, you'll mix a quart of epoxy mixture for the perimeter of your river rock. This epoxy is mixed at a 3:1 ratio, with 3 parts resin to 1 part cure. For a quart, this would be three cups of resin to one cup of cure. After mixing, you could also add a quarter cup of Xylene to the epoxy. Adding Xylene will make the epoxy easier to spread in the shade and with lower temperatures.
You'll apply this mixture to any area where you don't want to get your roller too close. This usually refers to the perimeter of the coating, but there may be other areas unique to your concrete.
How will you apply this first batch of epoxy? With the throwaway paintbrush. Let's look at the steps for the paintbrush application.
- Dip the paintbrush into the epoxy.
- Tap to remove some excess from the paintbrush.
- Lightly apply the epoxy to the surface of the river rock coating.
If you have the appropriate amount of epoxy on your paintbrush, it should cover approximately 12 to 16 inches before you need to dip it again. This process is similar to applying nail polish. You aren't trying to pack the stones with epoxy. You just want to glaze the surface.
After Trimming, Roll On The Glue.
Once trimming is complete, it's time to apply the epoxy to the rest of the river rock coating. The remainder of the application will utilize paint rollers, allowing the process to move faster than painting by hand.
You'll still mix the epoxy at the 3:1 ratio, but now you'll mix it at a half-gallon at a time. You also won't need to add any Xylene unless the river rock surface is cold. For a half-gallon quantity, mix six cups of resin with two cups of cure. If you added Xylene, it would be an added half cup or less.
Once your epoxy is mixed, you'll dip the 9 inch roller into the 5 gallon bucket. Use the bucket screen to lightly remove excess material from the roller.
One dip into the bucket should cover approximately 6 to 9 square feet. You'll run the roller three times, in three strips, before dipping again. Your roller is 9 inches wide, and you should roll approximately 3 feet, which is equivalent to your arm's reach with the roller pole. Three 3 foot strips, at 9 inches wide, gives you 27 inches by 3 feet.
Every strip should apply the epoxy a bit differently, as there are different amounts of epoxy on the roller as it is applied to the river rock. Let's walk through those differences.
- The first strip is very light. Touch the stone just enough to make the roller spin.
- The second strip should feel the weight of the equipment. You'll press just a little harder.
- The third strip has more force behind it. The remaining epoxy will be applied from the roller.
After running your roller for three strips, before dipping it again, you need to push the epoxy into the stone with the roller cover. The goal is not to make a thick layer of epoxy but to press the thin layer of epoxy into the stones. Pushing the stone with the roller brush will get the glue you applied where it needs to be.
You'll continue coating your river rock in these approximately 2 feet by 3 feet patches until the job is complete. When you run out of epoxy material, mix another half gallon.
As a reminder, this reglazing process does not seal the stone. It's just glazing the surface where the epoxy burned away. You're only replacing what the sun removed, so making a thick coat of glue isn't ideal. Two thin coats of glue can be great, but a thick coat isn't the goal. Epoxy is all about layers. In this case, your goal is one thin layer of epoxy, just glazing the surface of the stone.
When To Add Anti-Skid
If you want to add anti-skid to your river rock, you can add it during the reglazing process. Blasting sand is the anti-skid material used for outdoor applications, such as river rock, because it applies evenly despite windy conditions. Blasting sand can be applied while the glue is still wet.
This glue will be white while you're working with it because there's oxygen in the glue. When the glue is white, it is wet. Anti-skid can be added. Once the oxygen dissipates and the glue dries, it goes clear. Not only does this help you know when anti-skid can be added, but it can also help you see any spots you've missed.
Important Notes Before You Begin Reglazing
Before you jump into reglazing your river rock, there are a few things you should know.
How Much Epoxy Will I Need?
One gallon of epoxy should cover approximately 200 square feet.
Elite Floor Coatings will provide the right amount of resin and cure based on the square footage of your project.
How Soon Can I Walk On My River Rock Coating Again?
You'll need to stay off the river rock coating for 12 hours, or until morning, to allow the glue to dry.
How Do I Get The Glue Off Of My Skin?
If you get any epoxy on your skin, don't worry. It will come off, although it is best to wash the epoxy off before it dries or hardens on your skin. Dish soap and Fast Orange are our favorite products for removing the glue from skin.
What To Know About DIY River Rock Reglazing
If you want to reglaze your river rock yourself, you can. Reglazing is a pretty straightforward process that only requires some tools and materials. It is important to remember that you're working with glue, not paint, despite using paintbrushes and rollers.
When you reglaze your river rock, you are just glazing the surface with epoxy. Don't lay on the epoxy too thick. If you follow these directions, you should be able to reglaze your patio, porch, or sidewalk successfully!


